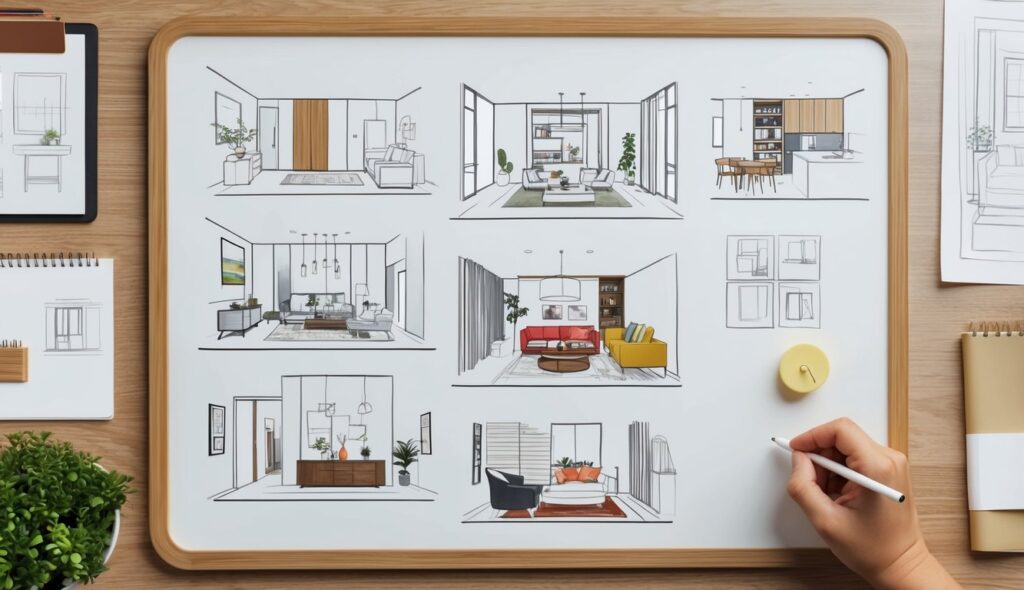
Choosing the right wall color is essential for creating the perfect atmosphere in your home.
Remember to repin your favorite images!
To ensure you pick the best color, it’s important to test paint samples on various walls. This lets you see how the shade looks under different lighting conditions throughout the day.
Using large paint swatches or painting directly on the wall helps you see the true color vividly.
Move your samples around to get a feel for how they interact with your existing interior design elements.
The lighting in your home significantly impacts how a paint color appears, so factor that in during your testing.
Preparing for Paint Sampling
To ensure you choose the right paint color, it’s critical to follow a methodical approach.
Start by selecting the best samples and gathering all necessary materials to make an informed decision.
Selecting the Right Samples
Choosing paint samples is the first step. Visit a paint store and get sample cans of colors you like. Aim for three to five colors to compare.
Lighting and existing decor affect how colors appear.
Also, consider using peel and stick samples from Samplize for a mess-free option. This way, you get an accurate preview without painting directly on the wall.
Testing samples in different rooms is important. Light changes the appearance of colors throughout the day, so observe samples in various lighting conditions.
Gathering Materials
Before you start testing, gather all the tools you’ll need.
Essential items include:
- Foam core poster board
- Sample cans
- Brushes and rollers
- Primer (if needed)
Using foam core boards allows you to move samples easily from wall to wall. This flexibility offers a better sense of how colors will look in different areas.
Brushes and foam rollers help with application.
Foam rollers are especially useful for large samples because they offer smoother coverage. Applying primer first can also help the sample color show accurately, especially on darker walls.
Applying and Evaluating Paint Samples
When testing paint samples, it’s crucial to consider where and how you apply them.
Evaluating the samples in various lighting conditions helps determine the true color. Understanding undertones will ensure you choose the perfect shade.
Strategic Placement
Apply paint samples on multiple walls to see how they look in different areas. This helps you see how the color changes with varying light. Use painter’s tape to create clean squares.
Prime your test areas if the existing wall color is dark. This provides a neutral base.
Paint a sizeable area to get the true feel of the color. Use at least two coats to ensure the current color doesn’t alter the new shade.
Test your paint samples on poster boards if you prefer not to paint directly on the wall. This allows you to move them around easily and compare colors in different rooms and against various fixtures.
Assessing in Different Lighting
Natural light impacts how paint colors look. Check your samples in morning, afternoon, and evening light. This helps you understand how natural light changes the appearance of the colors.
Artificial lighting also affects paint colors.
Evaluate your samples under different artificial lights like incandescent, fluorescent, and LED lighting. Each type of light can change the look of your paint samples.
Pay attention to shadows and highlights created by lighting.
Notice how they alter the shade on different walls and in various areas of the room. This will help you choose a color that looks good at all times.
Understanding Paint Undertones
Paint undertones are subtle hues beneath the main color. Identify undertones by comparing the paint swatch to true colors like pure white or grey.
This helps you see if the undertone is warm, cool, or neutral.
Choose a paint color that complements your room’s fixtures and furniture. Undertones should harmonize with the room’s existing colors.
For example, a beige with a yellow undertone might clash with cooler fixtures.
Test multiple samples to see how different undertones interact with your room’s lighting.
Some undertones might become more apparent under certain lighting conditions.
This step ensures you select a shade with undertones that make your space look its best.

